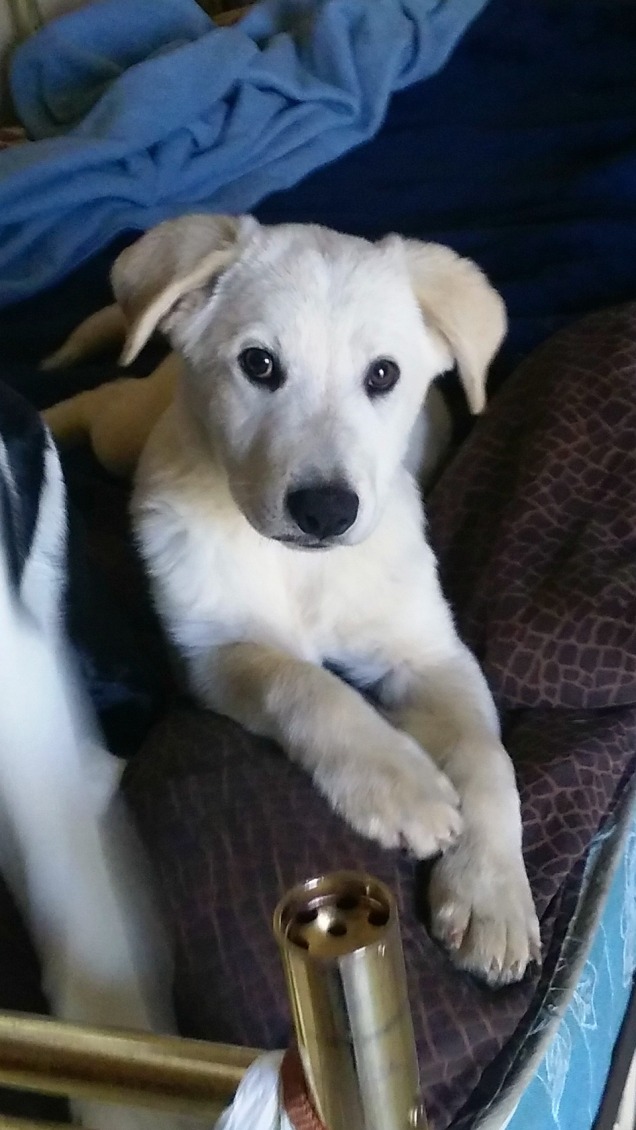
The weather has turned from steaming hot to shivering cold. This climate change does not suit Sonora very well as she lives outside in the yard with her dog house. Oftentimes, when I check on her at night, I see and feel how freezing cold it is. Although I put a blanket in Sonora’s dog house, rather than laying on it, she drags it around the yard and plays with it. Being the amazing dog owner I am (LOL JK), I decided the best way to keep her warm at night would be to get her a doggie coat of some sort. Then, my genius brain decided the best way to provide Sonora with a coat would be to make it myself. So…without further ado…here are all the steps it takes to make a sub-par, ill-fitting doggie coat.
Supplies Needed:
- Measuring Tape
- Pen/Pencil
- Notepad
- Two types of fabric (one for outside of coat and one for inside of coat)
- Sewing machine (or needle and thread if hand-sewing)
- Velcro strips
Step 1: Measure your Pooch
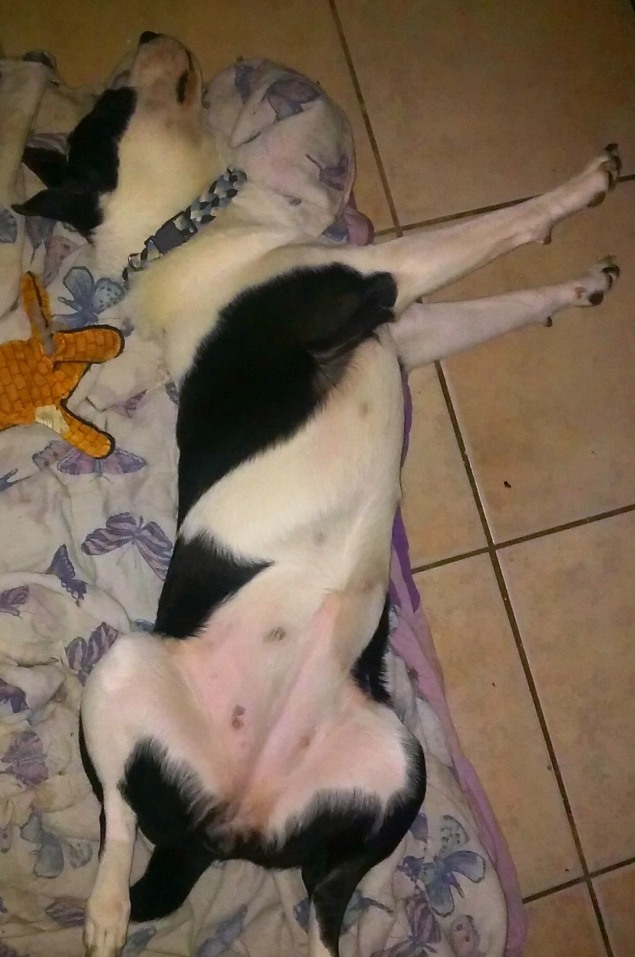
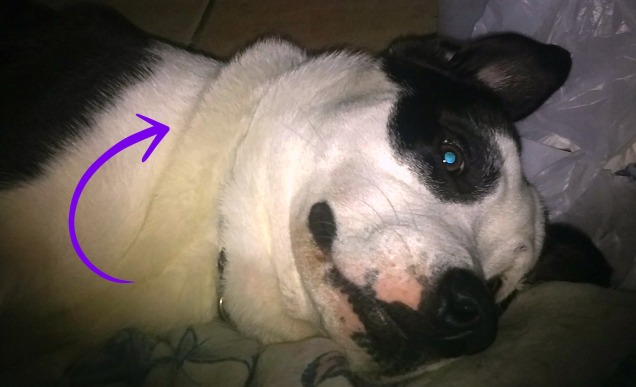
As soon as I set my crazy mind on making a dog coat, I grabbed my pretty purple measuring tape, a pen, and a notepad and chased Sonora down to measure her chubby little body. I measured around the front of her neck up to where her shoulders began. I did this because I didn’t want the coat to wrap straight around her neck like a collar. Instead, I wanted it to slope across her back a bit (see the picture above).
Then I measured how far down her back I wanted the coat to go; I also measured the distance from one shoulder to the other shoulder, and the distance from the middle of her back down to her side.
Sonora’s Measurements
- Neck: 21”
- Back: 18”
- Shoulder to Shoulder: 14”
- Top of back down to side: 12”
Step 2: Choose & Measure Your Fabric
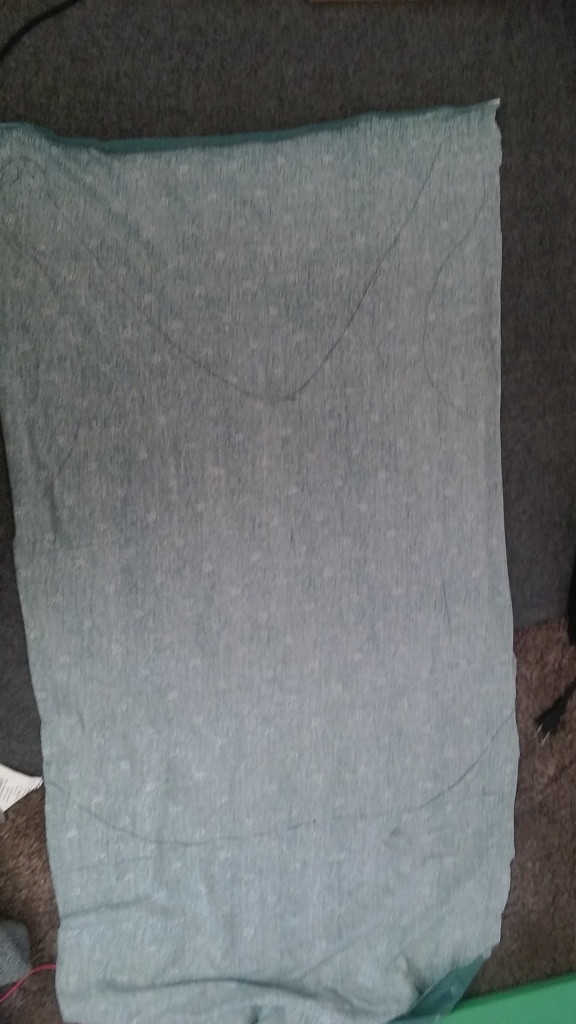
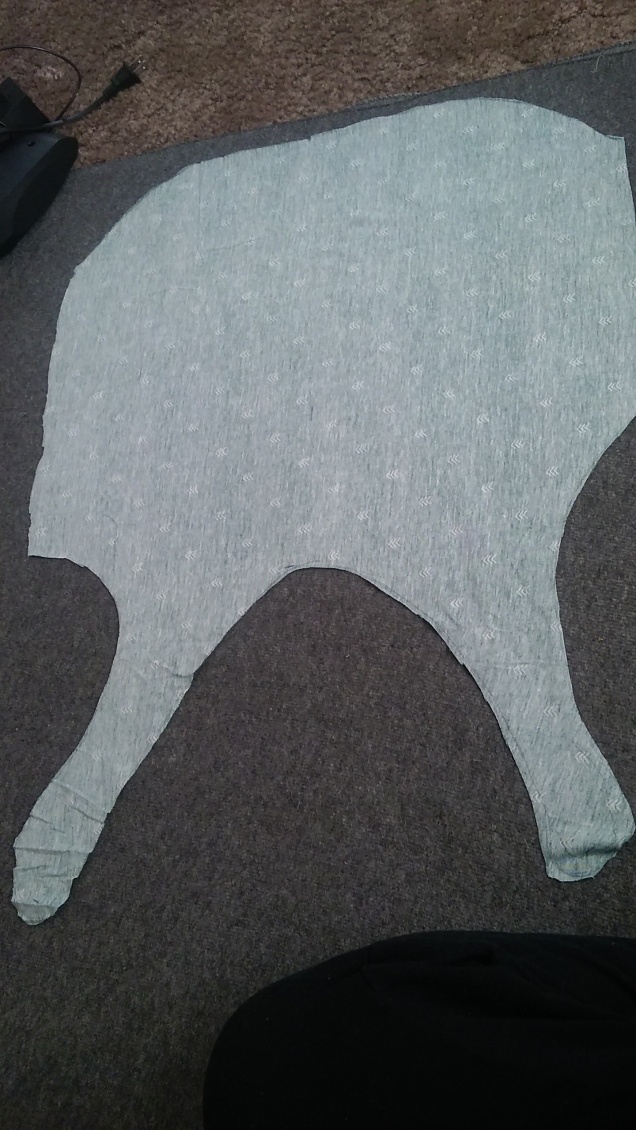
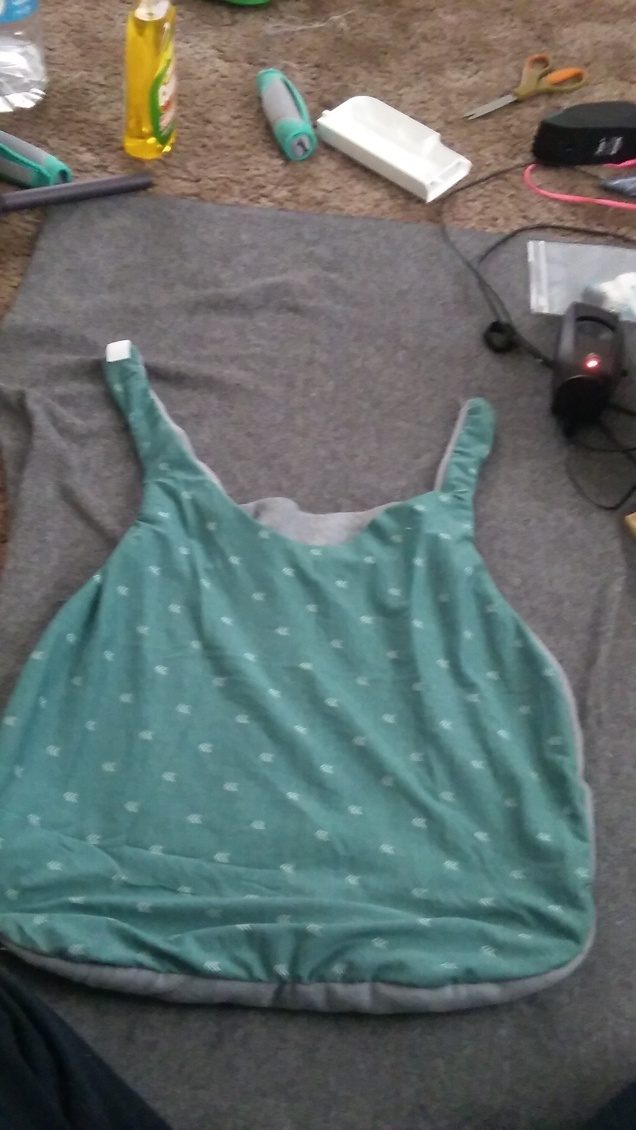
I chose a pretty green and white printed fabric and a gray felt fabric for this coat. I used my measurements to trace a general outline of the coat and then I cut it out. I made sure that I left two long pieces at the front of the coat to wrap around her neck and keep the coat on her. I cut out the design from both pieces of fabric. I also later cut out some extra fabric to make into belly straps and attached it to the side of the coat so the coat would fit more snugly around Sonora’s belly.
Step 3: Sew Away
I grabbed my handy dandy sewing machine and tried to sew the two pieces of fabric together to quickly and easily finish Sonora’s winter coat. Of course, the Sewing Machine Gods were frowning down on me and I soon found myself with a jammed sewing machine. Now, I barely know how to hand sew, so I’m not experienced enough to determine what happened to the sewing machine or how to fix it, so for now, I have an ornamental sewing machine. For the coat, I just hand sewed that baby together.
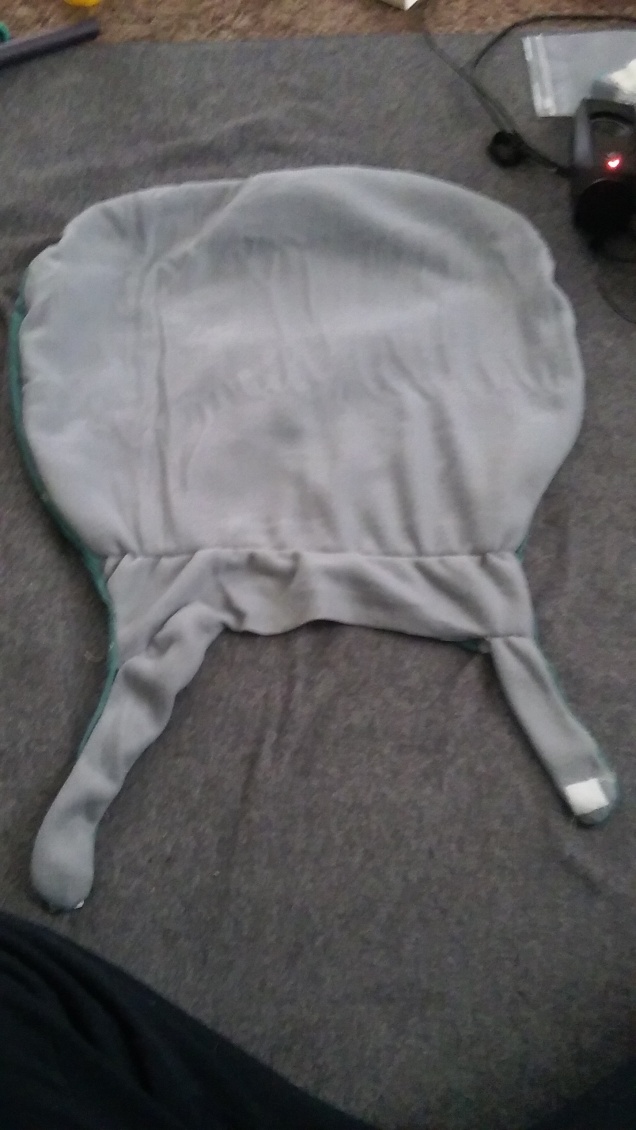
*My pieces of gray felt fabric were too small to use only one pieces for the coat, so I had to sew several smaller pieces together. That’s why there is a line in the coat in the picture below.
Step 4: Attach Velcro to the Straps
I got some Velcro that had adhesive on the back from Walmart, so I just stuck those onto the neck straps of the coat so the coat would stay around Sonora’s neck.
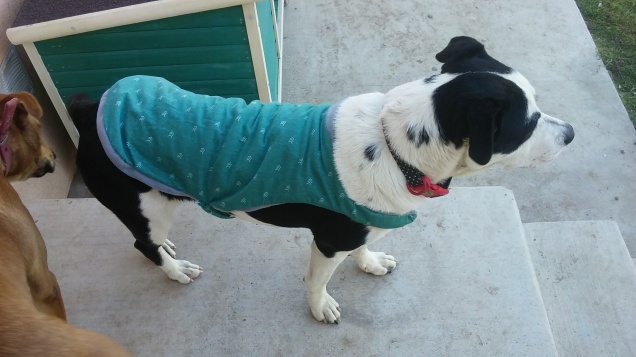
Step 5: Bask at the Glory of your Dog Coat!
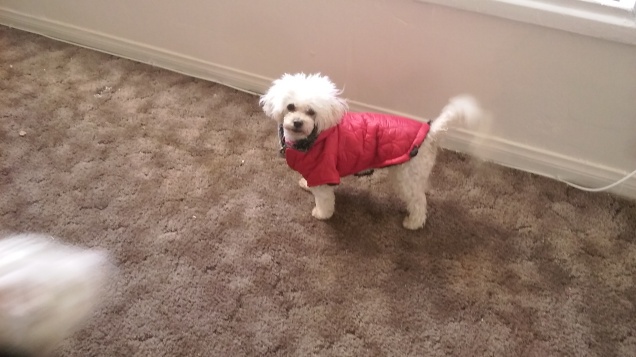
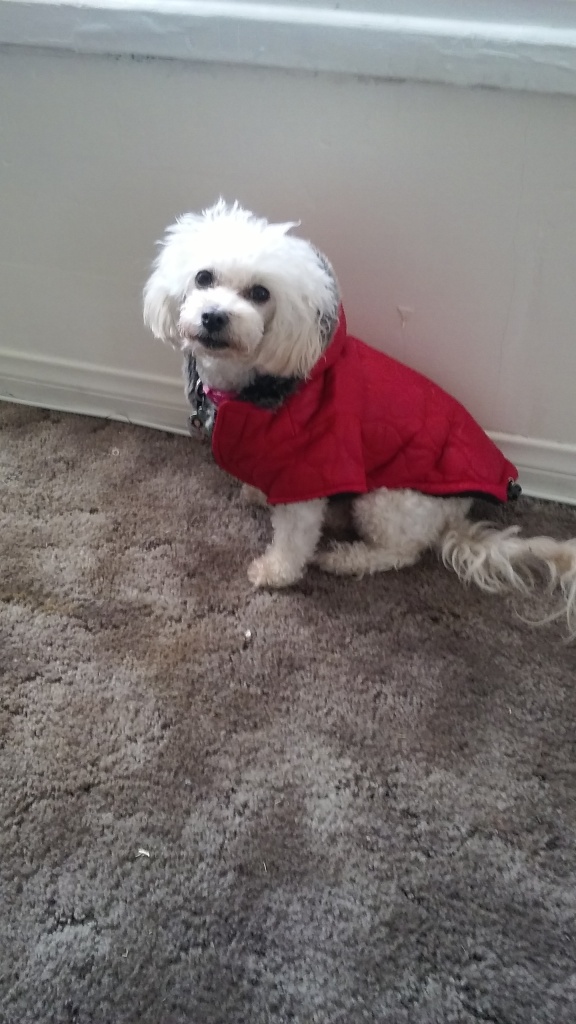
Ok, so grab your finished dog coat and put it on your pup! Mine was a tad bit too big, but it did the job!
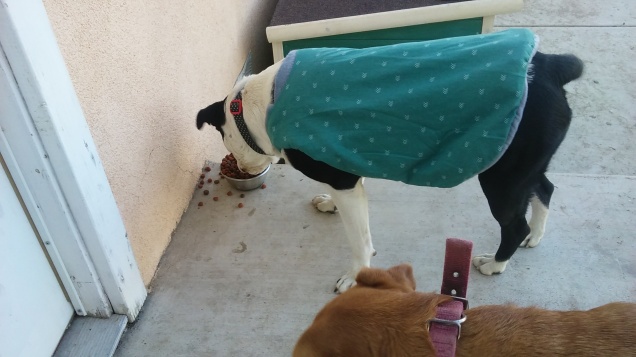
I am glad to say that Sonora actually keeps this coat on at night when I’m outside with her, but by morning, it is usually strewn across the lawn somewhere. I blame the ill-fittingness of the coat.
To make a really good dog coat, you can simply google “How to make a dog coat” or search in YouTube, (nearly any other tutorial would probably be better than mine), but if you are desperate or just want to have a good time hand sewing, then feel free to follow the above steps.
Have a good day!
-Paige
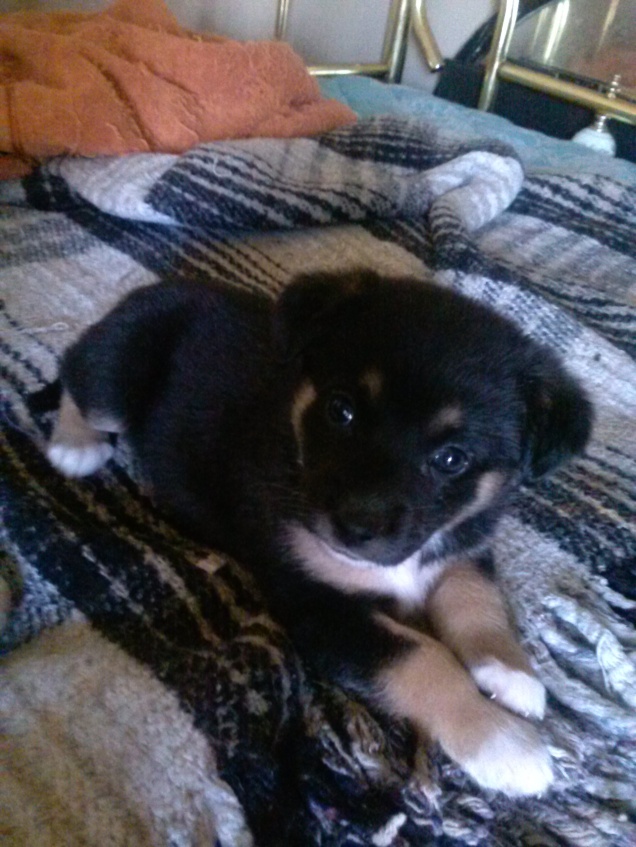
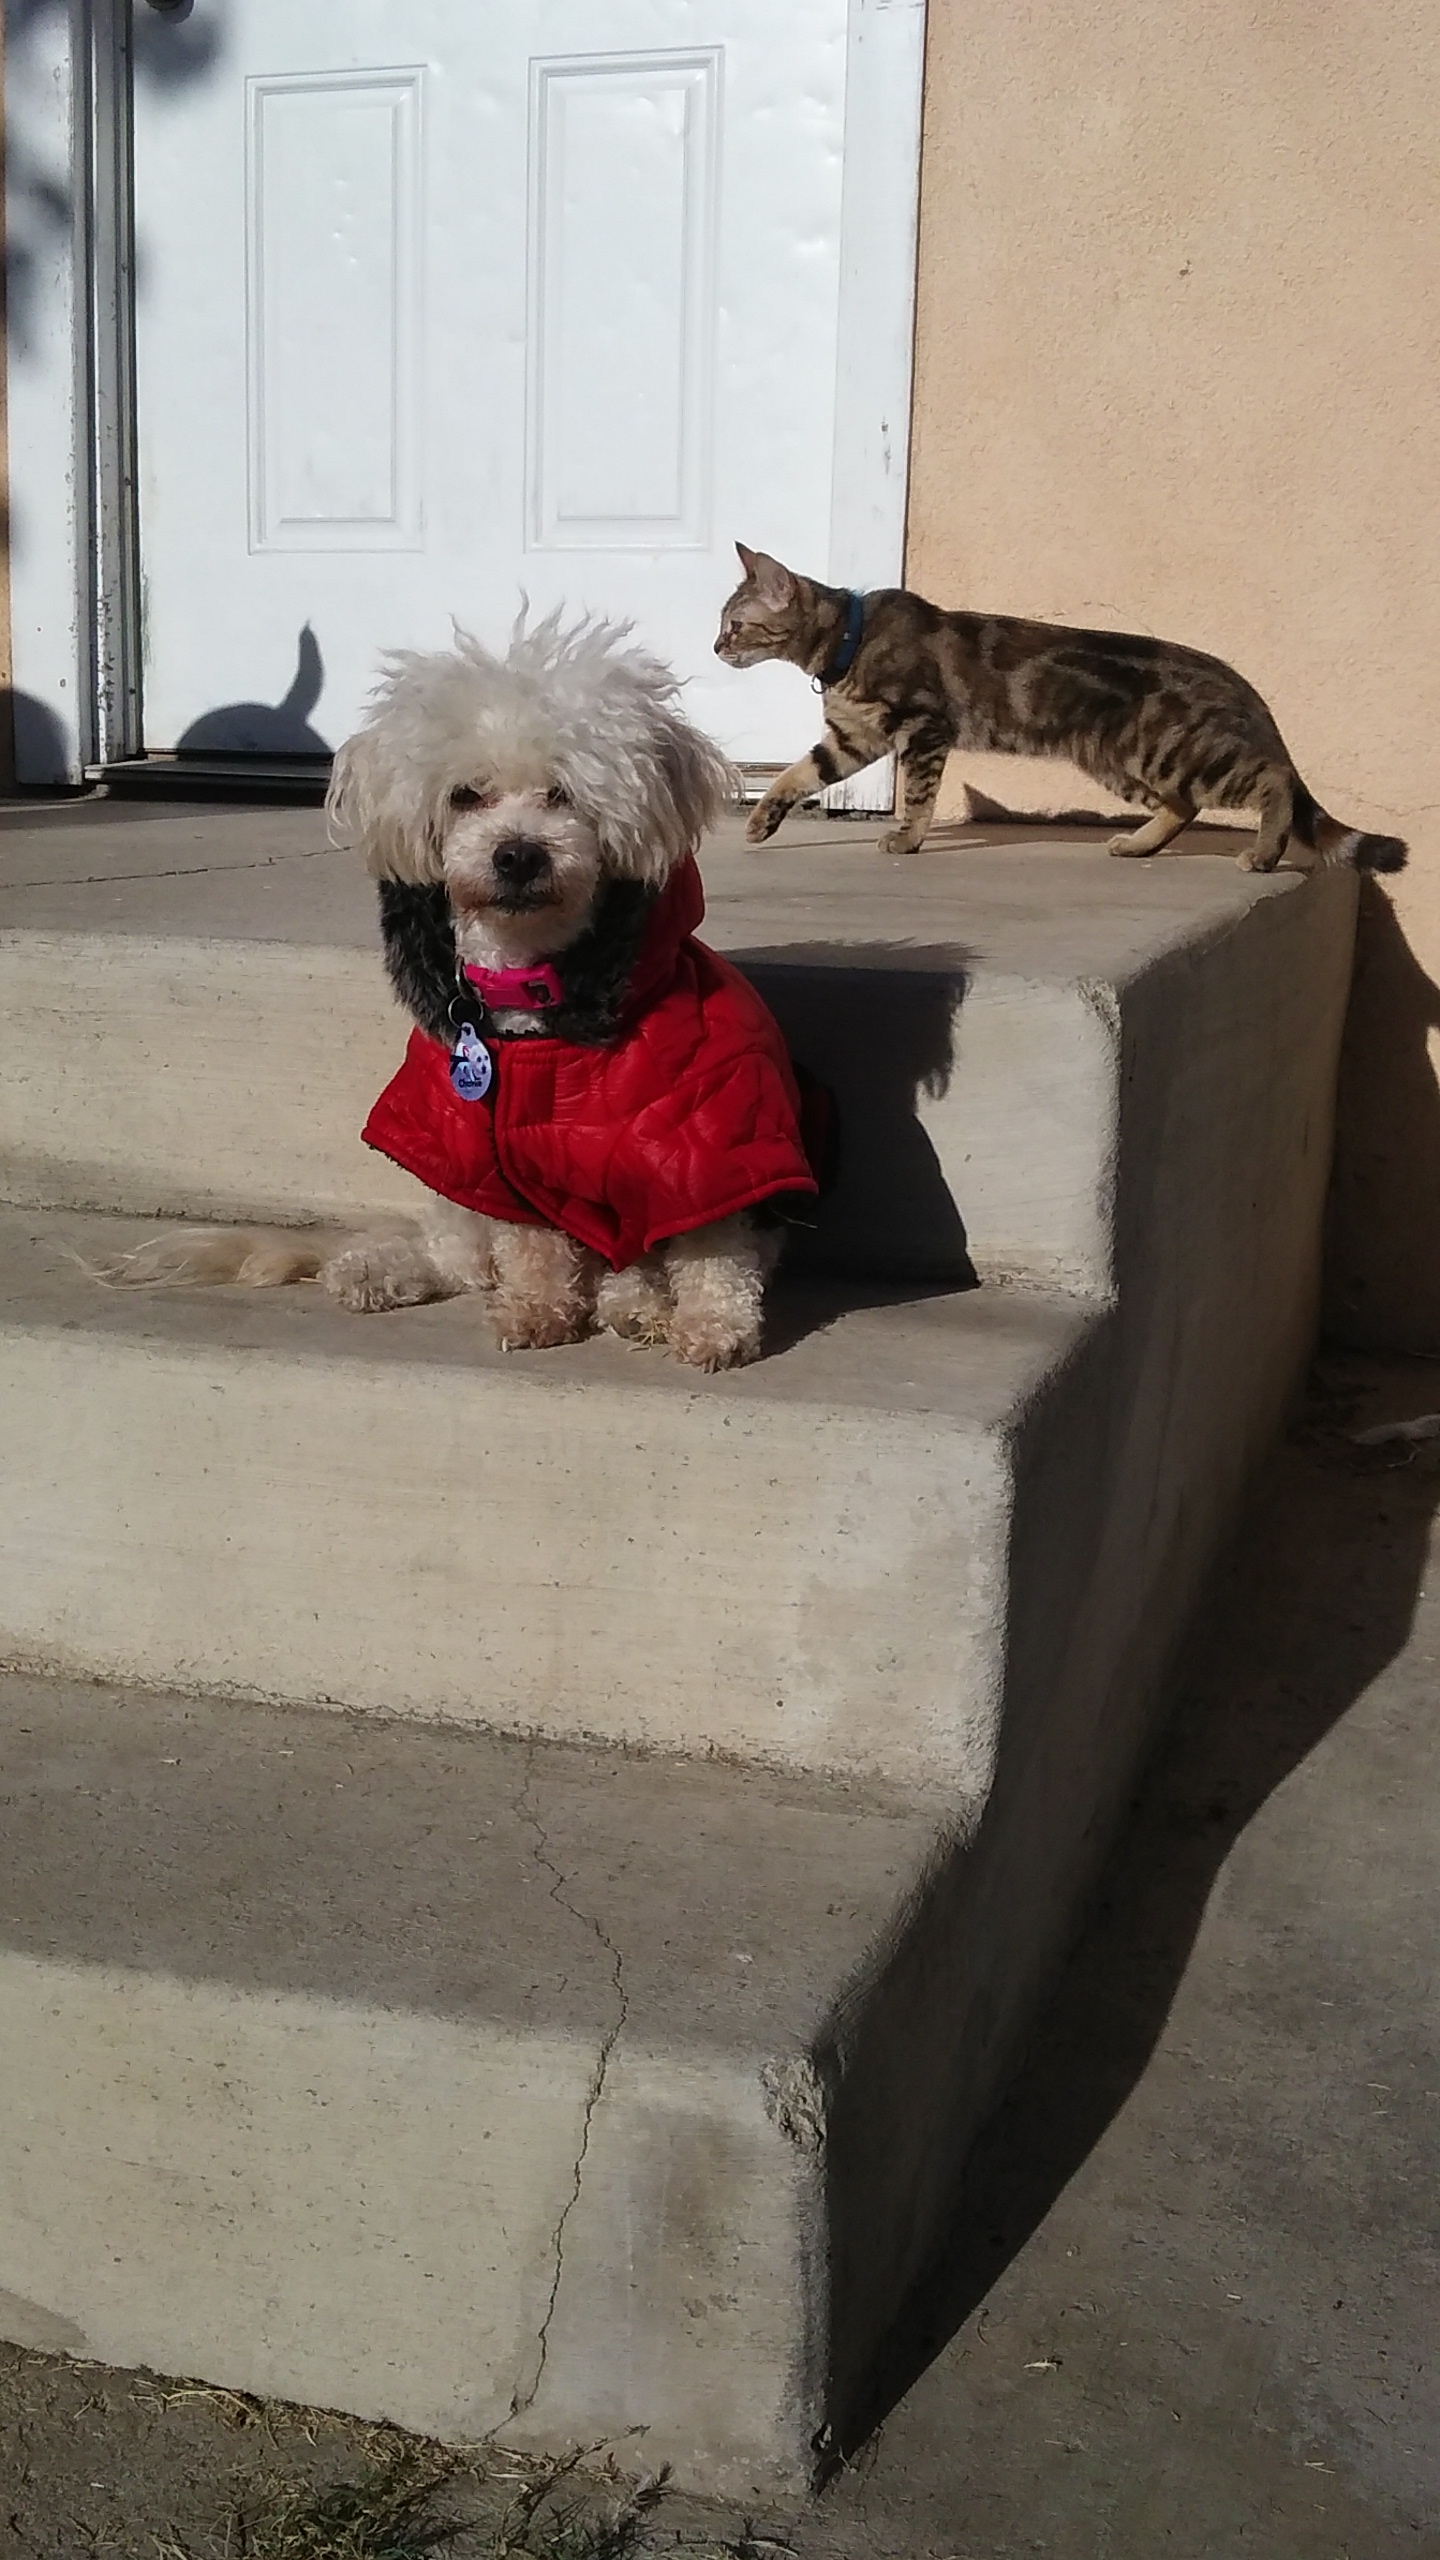 Charlie is so cute and stylish!